.png)

Traditional product pages have a rising problem: they ask customers to imagine what they will purchase. Actually, the gap between imagination and certainty is where online sales are lost.
3D product configurators can help handle this problem. They let customers interact with their custom products from every angle, turning hesitation into confidence and browsers into buyers. From furniture to automotive, manufacturing to fashion, the brands winning in interactive product customization are the ones making it easy to see before you purchase. Here’s exactly how to build a 3D configurator that does all of that well. Let’s discover more!
What Is a 3D Configurator?
A 3D configurator is an interactive configuration software that enables the ability to build and design the product on your own, choosing materials, modules, dimensions, and more, and instantly see those changes reflected in a 3D preview. Compared to flat images, a 3D product configuration experience gives buyers complete control over their configurations.
These configurators also display real-time pricing as customers customize their products. As each option is selected, the total cost updates automatically, eliminating pricing surprises.
As a result, manufacturers and retailers are offering a shopping journey that feels more tactile and personal, even online. A striking insight from McKinsey & Company is that good personalization can increase revenue by 15% and boost marketing ROI by 30%. In this way, businesses can significantly improve their performance and establish a strong brand identity.
The Significance of 3D Product Configurator
Improve customer experience and build trust
Implementing the right visual product configurator can ensure a deep level of interaction between customers and the final product design. Customers can rotate products, change colors, swap materials, and explore configurations from every angle. This clearly reduces uncertainty and helps customers feel more confident about what they are ordering online.
From the business perspective, they build greater trust, minimize misunderstandings, and reduce the likelihood of product returns and costly reworks—all of which impact your ROI.
Boost conversions and increase profits
Thanks to interactive product customization, customers can compare product variations and personalize features in just a few clicks, helping them make online purchase decisions faster.
Simultaneously, immersive visuals and real-time pricing updates for product customization ensure greater transparency throughout the configuration process. This makes customers willing to invest in high-end, made-to-order items such as furniture and home interiors, driving higher conversion rates, increased average order value, and greater overall profits.
Support the sales process of complex products
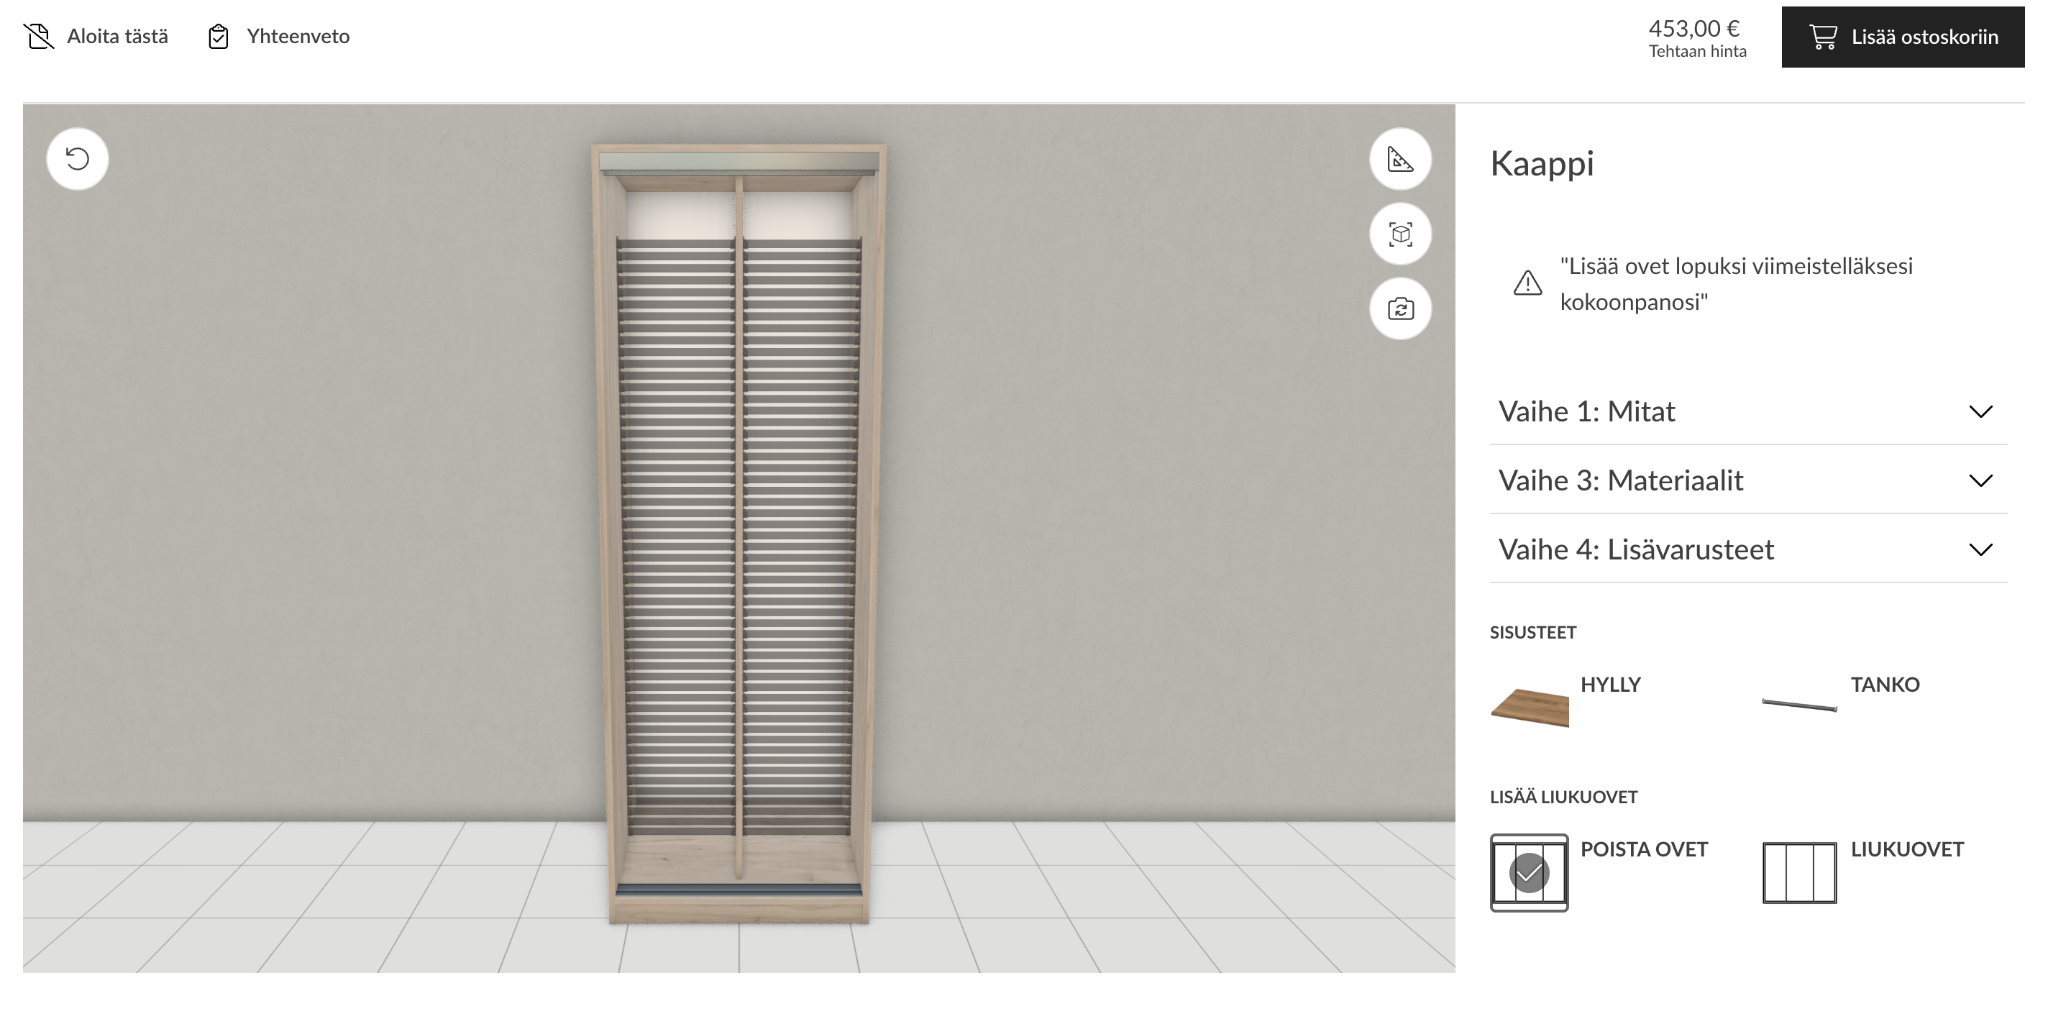
When you sell custom products online with diverse options, a custom product configurator with an accurate rule set is essential to streamline the sales process without errors. But in sectors that often feature highly modular designs, such as storage solutions or sofas, the rule-based configuration feature of a 3D modular product configurator has a real impact.
Specifically, it automatically validates compatible components, materials, and dimensions, ensuring every configuration is accurate and manufacturable. This actually doesn’t require back-and-forth conversations among sales teams, engineers, and shoppers for confirmation. As a result, businesses can shorten their sales cycle and improve sales efficiency effortlessly.
Offer a clear competitive edge
Companies that adopt 3D configurators stand out by delivering a more modern and interactive buying experience. This is one of the notable benefits that buyers can’t find on product pages that rely solely on static images or pre-recorded videos. From that, manufacturers, retailers, or even resellers can effectively strengthen brand perception, differentiate themselves from competitors, and demonstrate a commitment to innovation.
As digital transformation accelerates and continues to redefine customer expectations, investing in real-time product visualization and configuration is becoming a strategic advantage for staying competitive, driving visitor engagement, and increasing conversions.
How to Build a 3D Configurator
The guide on how to build a 3D configurator is a multi-stage process that brings together 3D design, software development, and prebuilt product logic. It can be developed in-house or implemented using a third-party platform, depending on internal technical resources, timeline, and scalability requirements. Let’s take a closer look at the key stages involved:
Step 1: Define your customization options
First and foremost, research the market and clarify a full product profile: Which products will be configurable? What options can users change, such as color, material, size, or modules? Additionally, you need to document the rules when you sell modular, complex products (e.g., which combinations are valid?) These logics will drive your 3D product configurator’s performance; thus, getting them right in the first stage prevents costly rework in later stages.
Step 2: Clarify Business Goals for Your Configurator
The next step that you need to know when learning how to build a 3D configurator is setting clear objectives for the design customization tool before development begins. This ensures the system is built with measurable outcomes rather than just visual functionality.
Common goals include improving conversion rates by reducing purchase uncertainty through real-time 3D visualization, increasing average order value (AOV) by promoting upgrades such as premium add-ons, and strengthening brand differentiation through a more immersive experience with augmented reality (AR). In some cases, the configurator supports operational efficiency by simplifying complex product selection or quoting processes. Ultimately, these objectives should be translated into clear KPIs to guide your evaluation.
Step 3: Select the type of experience
At this stage, you need to decide what level of customization your shoppers expect. Clarifying this shapes the entire design, complexity, and tools required for your final product.
- Standard 3D configuration
This is the foundational setup for retail and consumer e-commerce (e.g., shoes, watches, or apparel). It provides users with an interactive, 360-degree view of a single asset. By integrating real-time product visualization, any custom change a customer makes, such as swapping textures, tweaking colorways, or altering materials, is displayed instantly on screen. Apparently, it is highly engaging but operates on a fixed, predictable product structure.
It is designed for highly complex products, such as B2B machinery, modular sofas, complex shelving systems, or cabinets. It uses a strict, underlying "rule engine" to ensure that whatever the customer builds is physically viable and manufacturable. As users customize and add individual parts, the configuration engine calculates pricing, updates parts lists, and enforces constraints in real time, preventing the user from creating an impossible design.
- 3D Configuration with AR
After shoppers customize their products, AR experiences allow them to effortlessly use their smartphone or tablet camera to project the true-to-scale object into their real surroundings. This allows them to instantly evaluate how custom products match their interior aesthetic.
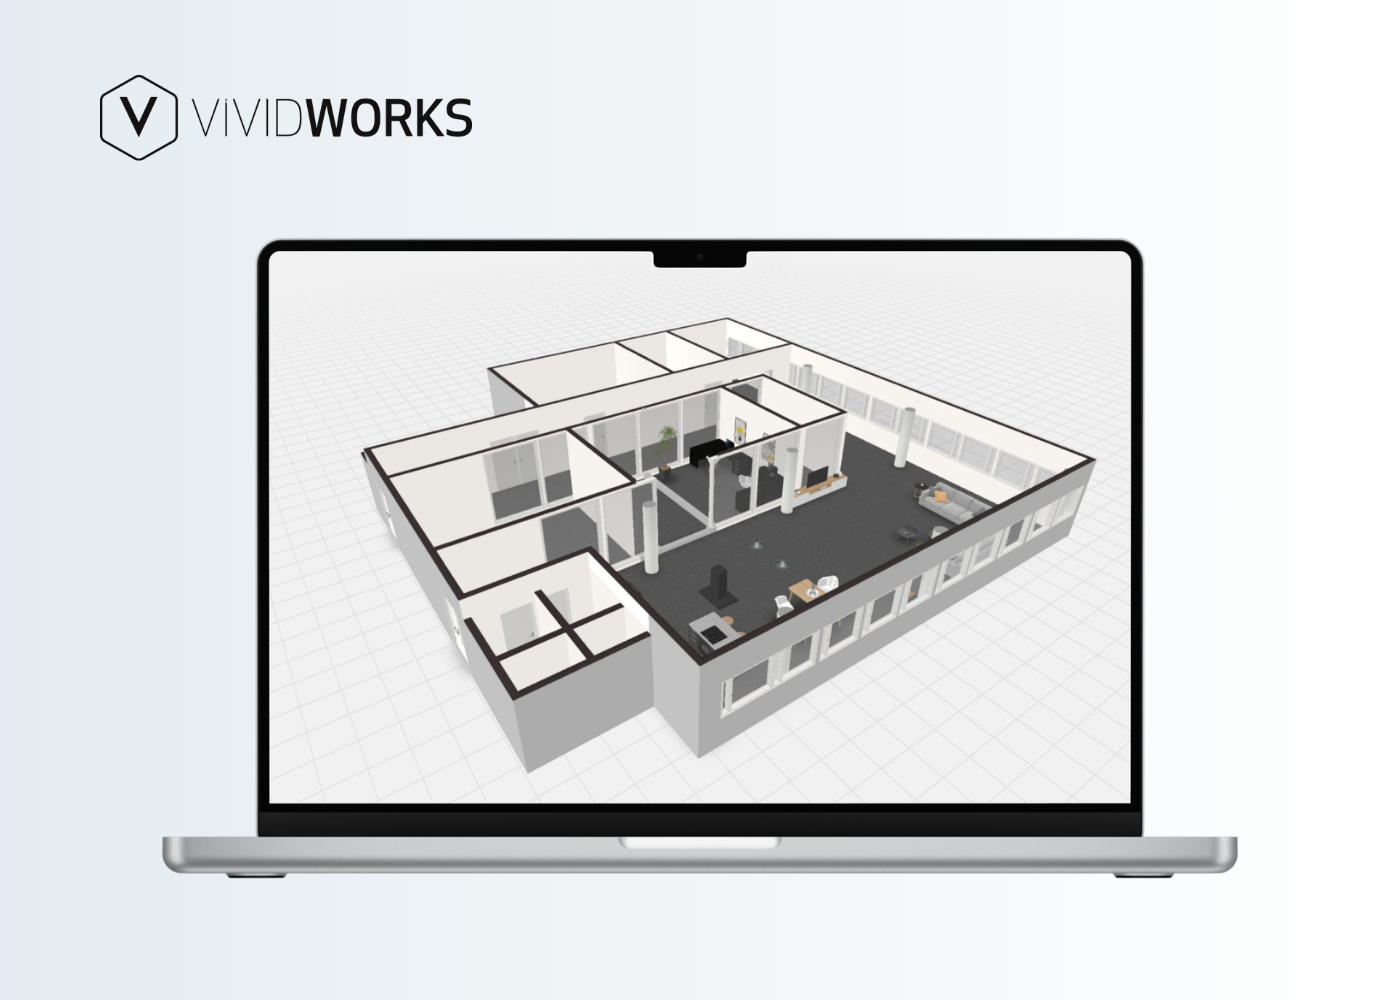
This is a macro-level experience, especially popular when selling furniture, and requires a dedicated digital space to visualize customer selections. Specifically, users can easily map out custom floor plans entirely on their own, adjust room dimensions, and arrange various components dynamically within the environment. Instead of focusing on a standalone item, shoppers can see exactly how multiple pieces interact with each other spatially, shifting the user journey from simple product customization to comprehensive, full-scale interior design.
Step 4: Choose The Right Technical Approach
1. Build a 3D product configurator from scratch
Developing your configuration software from the ground up gives you absolute ownership over the user interface and data structure. While this route demands a significant upfront budget, an extended development timeline, and specialized in-house engineering talent, it can ensure the final platform aligns well with your demands and business operational workflows.
Best for: Businesses with highly unique customization requirements that external software cannot satisfy completely, or those already with a dedicated, long-term development team.
2. Work with a third-party service
Collaborating with an established provider vastly accelerates your deployment timeline and offers predictable, scalable budgeting. Instead of inventing the infrastructure, you get advice from professionals for faster implementation, ongoing technical maintenance, and extensive ecosystem integrations. This further lets you focus internal efforts on core sales activities.
Best for: Businesses desiring to optimize their launch efficiency and reduce tech overhead.
VividWorks is one of the most well-established 3D configuration providers serving businesses across Europe, the UK, and the US. The platform supports all four common configuration types and delivers stable performance at scale. In addition to 3D product customization, VividWorks offers augmented reality (AR), room planning, rule-based configuration, and Visual CPQ (Configure, Price, Quote). Its tailored sales configurators integrate with e-commerce platforms, CRMs, and ERPs through flexible APIs and plugins.
Step 5: Enable a user-friendly interface
The success of your 3D configuration software also relies on a seamless, distraction-free layout. To maximize customer conversion, design an interface using these core principles:
- Keep the layout clean and reveal complex choices only when necessary.
- Display highly responsive, real-time previews for 3D visuals as users make changes.
- Ensure a responsive experience across all screens, paying extra attention to mobile.
- Naturally guide users on exactly what to do next with clear steps.
Step 6: Add dynamic pricing
A gorgeous visual online experience with 3D visualization will still fail to convert shoppers if the checkout price remains hidden until the final stage. This means they don’t just want to see how their product looks; they want to know what it costs right now as they configure. Dynamic pricing logic supports this tech aspect by ensuring the price is updated in real time.
This requires connecting your 3D sales configurator’s rule engine to a pricing database or CPQ software. Every custom selection should map to a specific price. For the B2B use case, pricing may need to reflect client-specific contracts, volume discounts, or regional currency.
Step 7: Integrate with your ecosystem
True value comes from adding your 3D configurator to your existing tech stack, including eCommerce platforms, ERPs, CRMs, and more. In this way, when a customer clicks Add to Cart, the tool will not just send a generic item name; instead, it will export structured data:
- A complete bill of materials (BOM)
- Specific SKU combinations for warehousing
- A unique configuration ID for customer support references
Most modern 3D product configuration software integrates via APIs, extensions, or plugins.
Step 8: Test, Launch, and Continuously Improve
Before pushing your tool live to your audience, run extensive QA testing across various operating systems, screen resolutions, and browsers. A tool that runs perfectly on a powerful desktop monitor might stutter on an older mobile device. Also, let’s optimize texture resolution, monitor frame rates, and track initial interactions to spot any layout confusion.
Conclusion
Building a high-performing 3D product configurator from scratch requires serious technical overhead, substantial development budgets, and months of continuous iteration. If you are early in this approach and lack specialized internal development resources, you can consider implementing a 3D configurator with VividWorks, which has dedicated expertise in 3D furniture configurators, cabinet design software, or even online 3D kitchen configurators.
Ultimately, learning how to build a 3D configurator is one of the most transformative digital strategies a business can undertake today, especially when selling bespoke, complex items. Success requires a focus on thorough initial planning, optimized 3D assets, bulletproof logic rule sets, and backend integrations. But first, let’s book a demo to see the power of this tool!
Table of Content
-3.avif)
Streamline your process today!